Shoot at night5 min read5 steps
Night mode in detail
What every Night option does, and how to pick them for stars, trails and the Milky Way.
Step 1/5
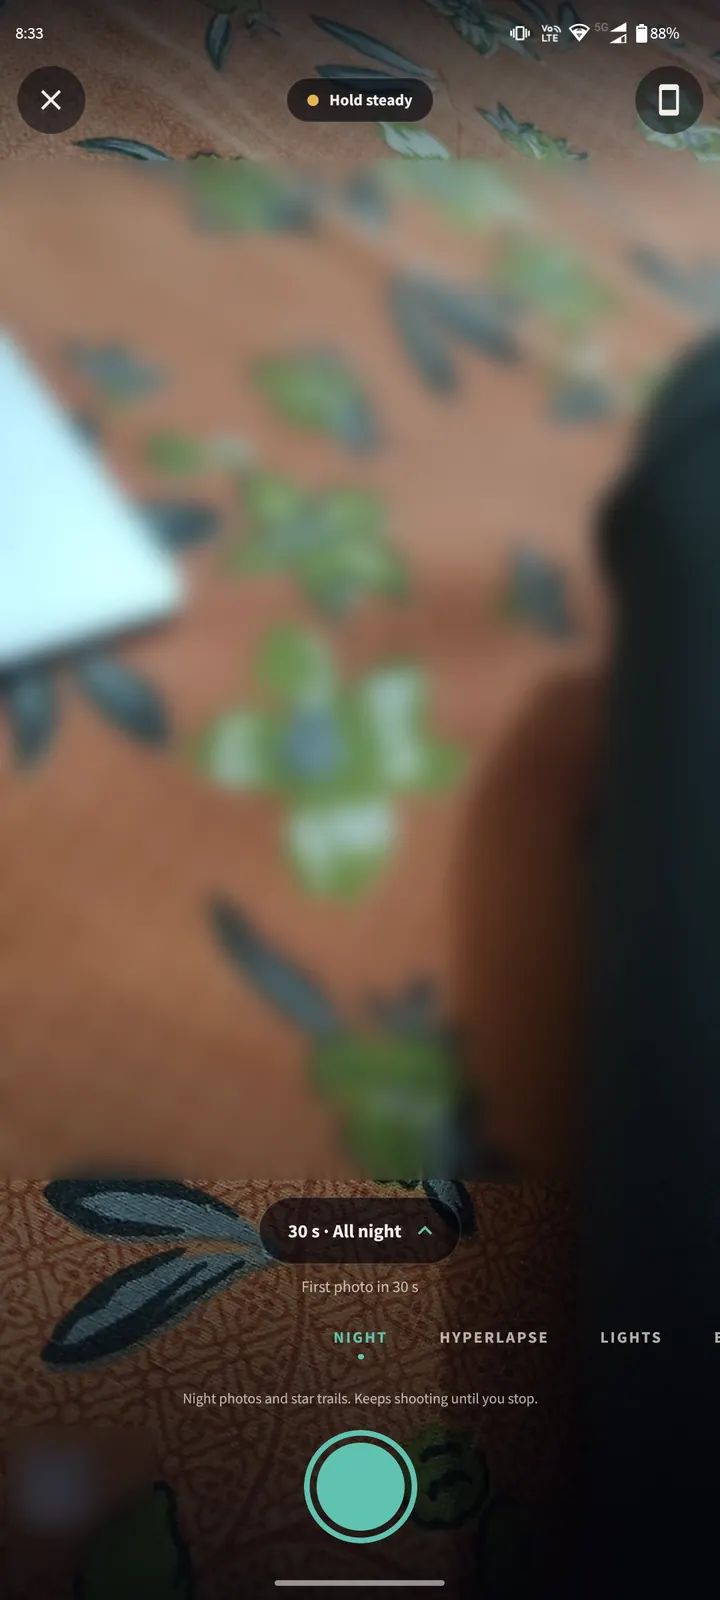
Night keeps shooting until you stop
Night takes many short exposures and merges them on the phone into one clean photo, then starts the next one. Your star trails grow from photo to photo.
Each finished photo is saved as soon as it completes, so nothing is lost if the battery dies.
Step 2/5
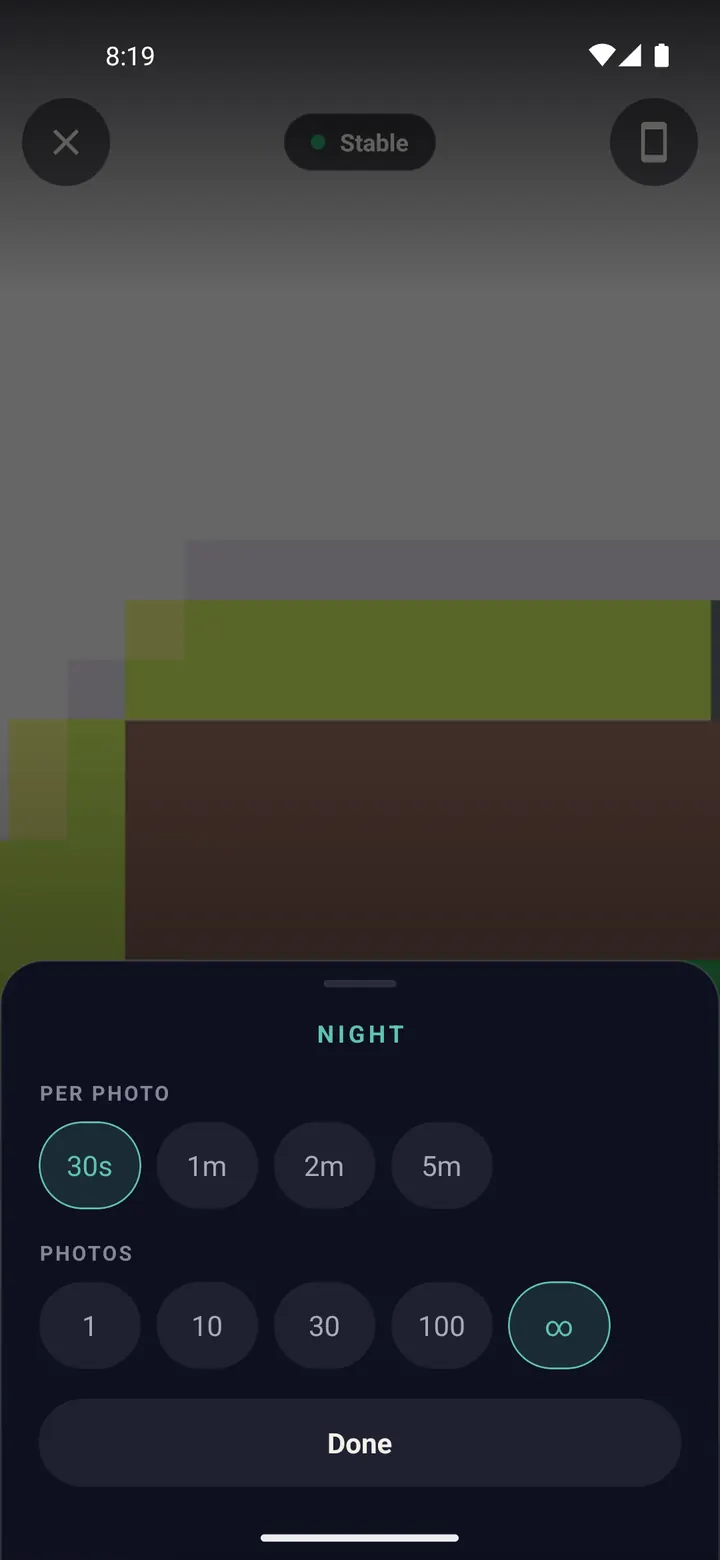
Per photo: how long each photo collects light
30 s gives sharp stars and is the best choice for most nights.
1 m and 2 m gather more light for a darker, cleaner sky and a brighter Milky Way.
5 m is for very dark places with no Moon.
Step 3/5
Photos: how many to take
1 gives a single long-exposure night photo.
10, 30 or 100 stop by themselves after that many photos.
The infinity sign keeps going all night until you tap the shutter again. Pick it for star trails.
Step 4/5
Stability check
The pill at the top watches the phone's motion sensors. "Stable" means you are good to go. "Hold steady" means the phone is moving.
Even a small wobble during a long exposure turns stars into smudges, so wait for "Stable".
Step 5/5
Getting the best night
Shoot when the Moon is down or thin: the home screen strip and Tonight's Sky tell you.
Wait about an hour after sunset for the sky to get properly dark.
Keep the phone plugged into a power bank for sessions longer than two hours.
Use Tonight's Sky to see where the Milky Way and the pole star are before you set up.
Done? Try next
Shoot at night
Hyperlapse, Lights and Bulb
ReadPlan with the sky
Find planets, stars and galaxies with Tonight's Sky
ReadTips and fixes
Tips and troubleshooting
ReadSomething here does not match your screen? Tell us and we will fix the guide.